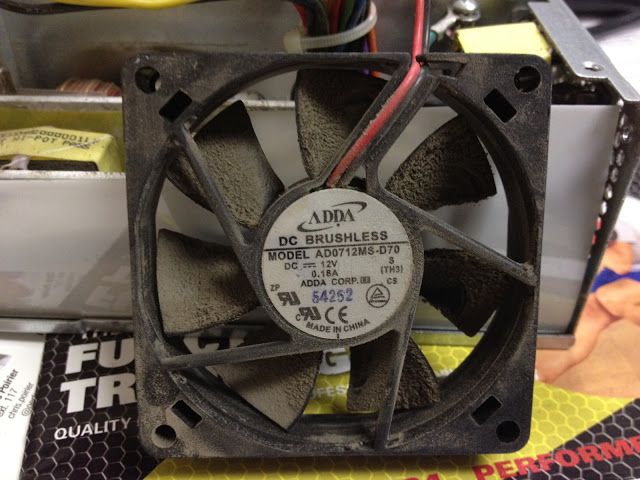
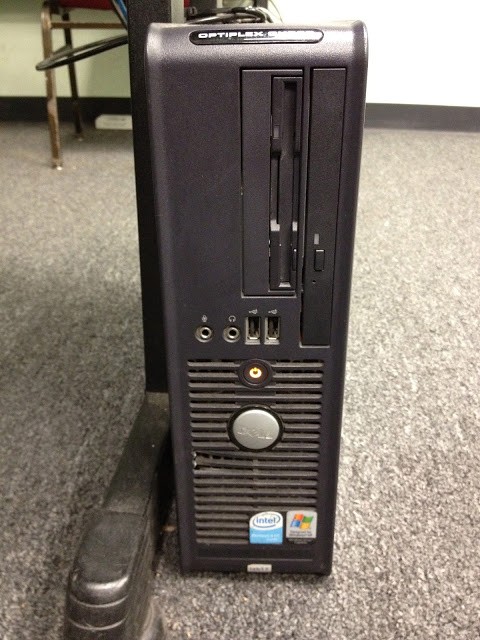
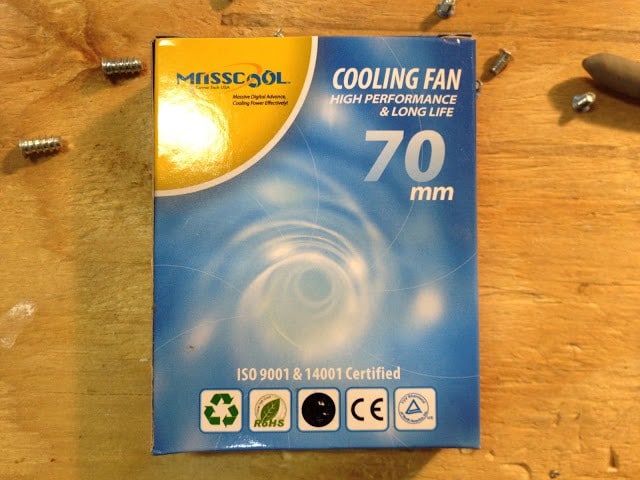
I did some more searching and found others who had this same issue on that particular model of Dell, which has a particular model of fan on the power supply: ADDA Model AD0712MS-D70. It is a 70mm x 70mm x 14mm 12V fan. I decided to order some replacement fans for the power supply and do that instead of ordering an entire new power supply. The used power supply cost me $24.99 on ebay and the replacement fan ran me $4.99 plus the time it took to open up the supply and replace the fan. I like fixing stuff so I ordered 3 fans and I’ll probably opt to just replace them in the future. Hopefully the overheated power supplies don’t develop solder cracks or the heat fries a capacitor.
How to Replace the Power Supply Fan in a Dell Optiplex GX520
Equipment:
- Dell Optiplex GX520
(Small Form Factor)
- Original Dell Power Supply Model H220P-01 Dell P/N: YD358
(CN-0YD358-47890-64S-4075)
- ADDA Model AD0712MS-D70 cooling fan (original BAD fan)
Parts Needed
- Replacement Model H275P-00 Dell P/N: TD570
(CN-0YD080-17972-616-0GES)
- StarTech.com 70mm Ball Bearing (Replacement) Fan part FAN7X15TX3
- Heat Shrink Tubing
Tools Needed:
- Phillips Head Screwdriver
- Wire Stripper
- Soldering Iron (I used a high-powered “gun” type like this
)
- Solder
- Heat Gun
- Wire Cutter
Step 1: Remove the power supply from the computer.
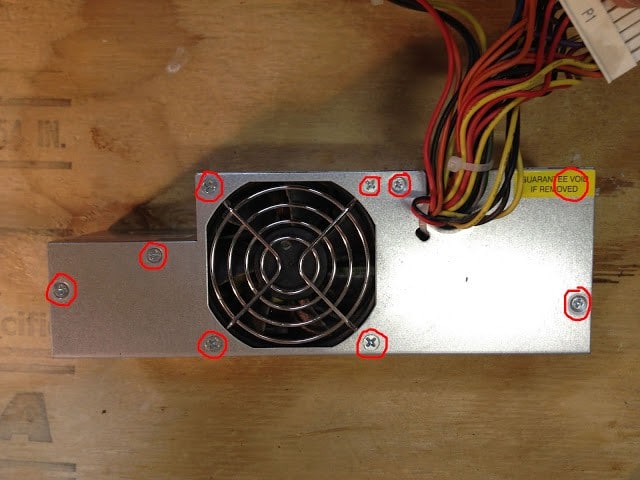
Step 2: Remove all the screws on the fan side of the power supply.
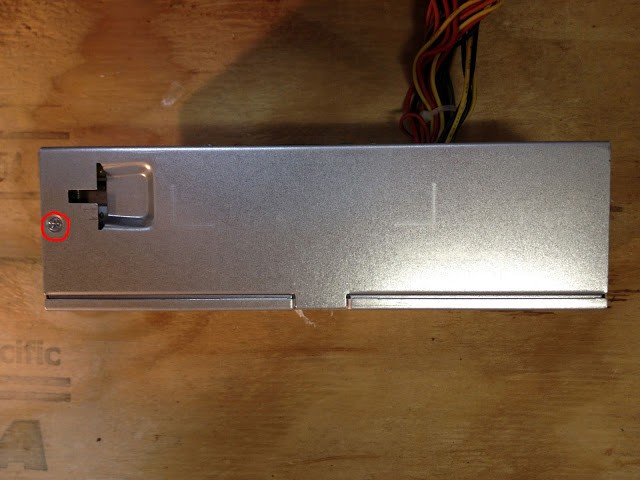
Step 3: Remove the 1 screw on the bottom of the case.
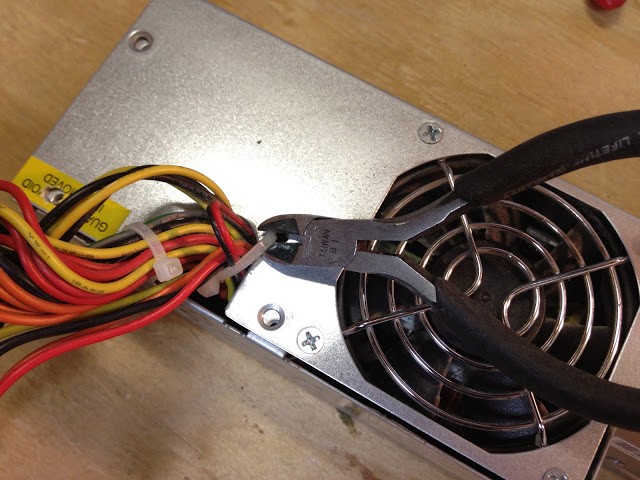
Step 4: Clip the zip tie that connects the wire bundle to the case cover.
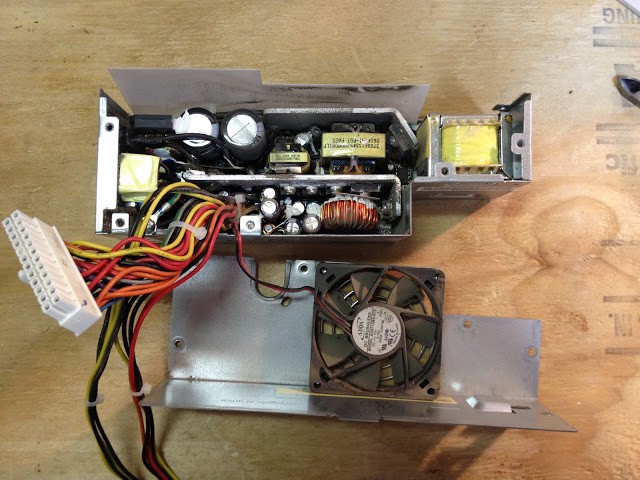
Step 5: Remove the power supply cover by sliding it straight up (up being the fan side).
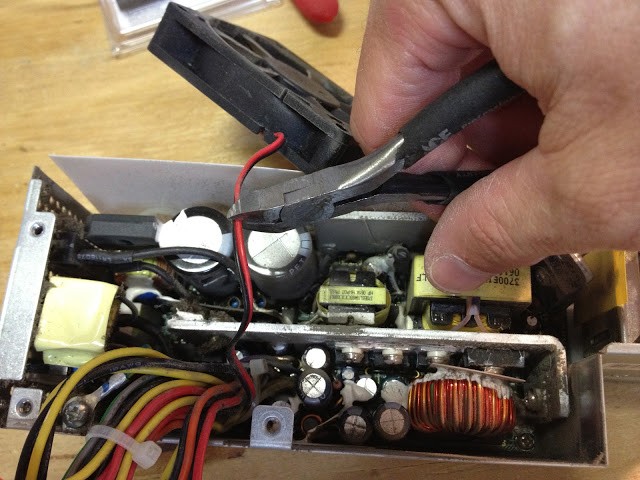
Step 6: Cut the wires leading to the fan.
Leave yourself room to connect the remaining wires to the new fan.
Step 7: Connect the new fan.
Because of space constraints I suggest soldering the connections to the new fan and using shrink tubing to insulate the connections.
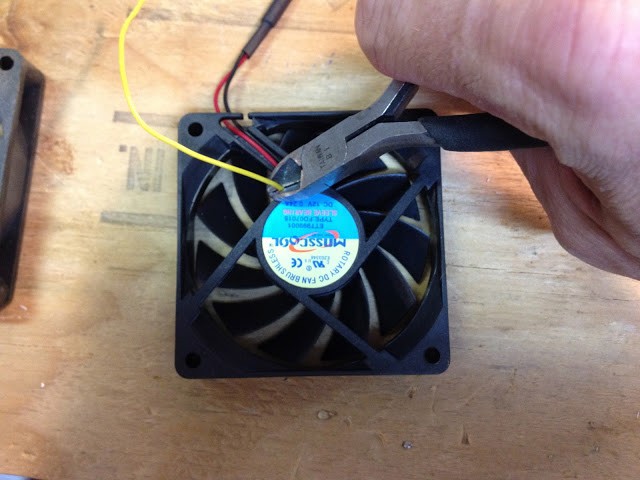
The yellow wire on the fan is not going to be used. It is an RPM output from the fan which is not needed in our application. Cut it off:
Strip the wires and tin them to make it easier to solder them together:
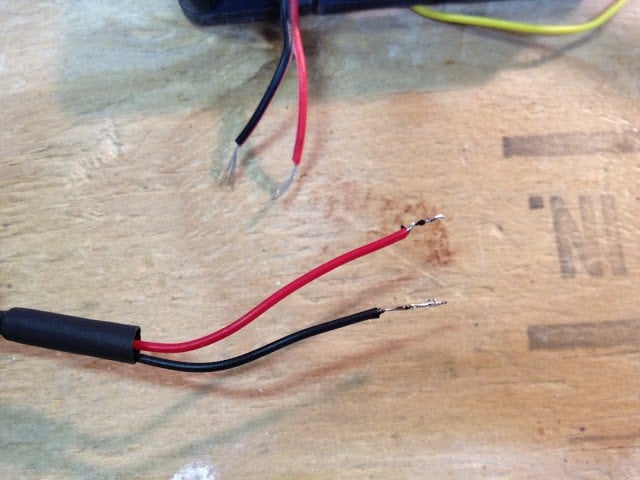 |
| I had a dirty solder gun, therefore the black residue on the solder. |
Slip on the shrink tube before soldering the connections. Make sure it is far enough away from where you are soldering because the heat from the soldering will shrink it.
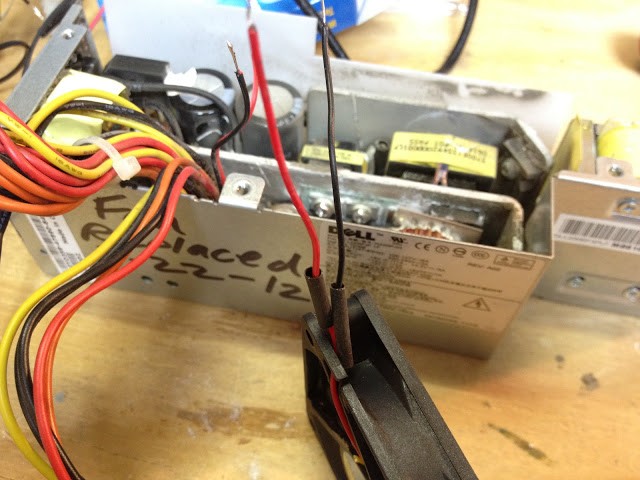 |
| Slip the shrink tub on before soldering the wires. |
Watch that there isn’t something fragile in the path of the hot air (especially your hand) because these heat guns are dangerous.
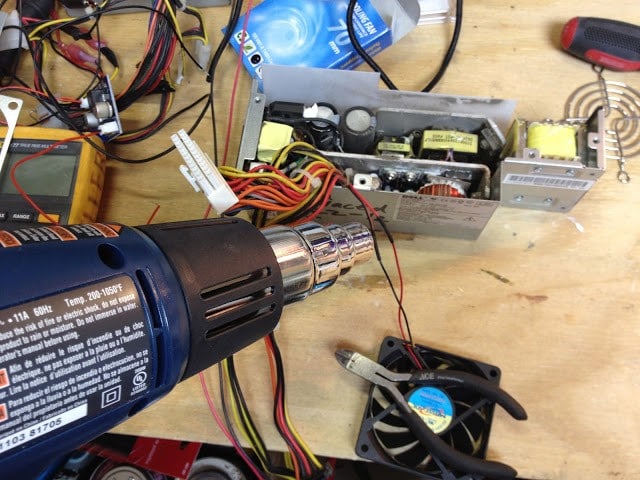 |
| Shrinking the shrink tube with my heat gun |
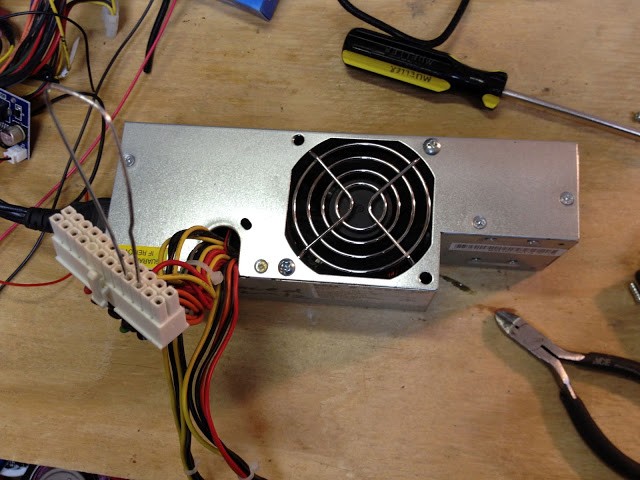
Step 8: Screw the fan and fan grill onto the case cover.
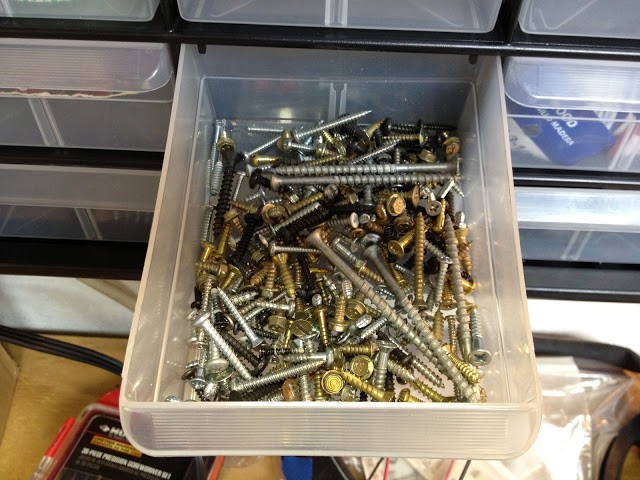
The screws that came with the fan I bought will not work because the holes are too big on the side I need to mount. NOTE: the fan needs to blow IN, which means the label on the fan will be on the inside. I was forced to go through my junk screw drawer and find a longer screw:
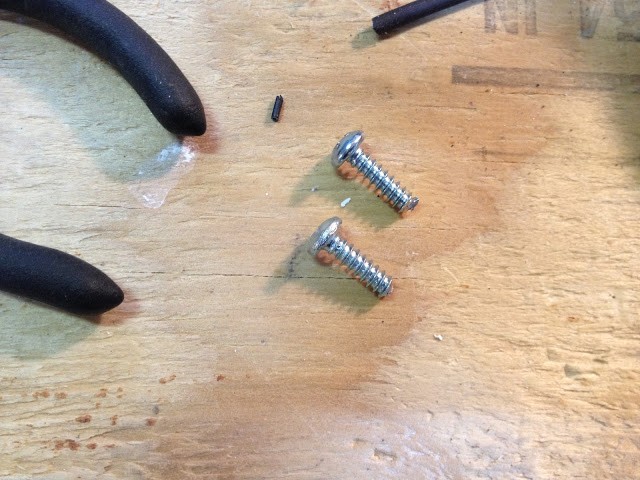
The ones I found that were too long so I had to cut them off:
There originally were 4 screws but I’m going to only put 2 back in. Good enough for me though.
Step 9: Reassemble the power supply.
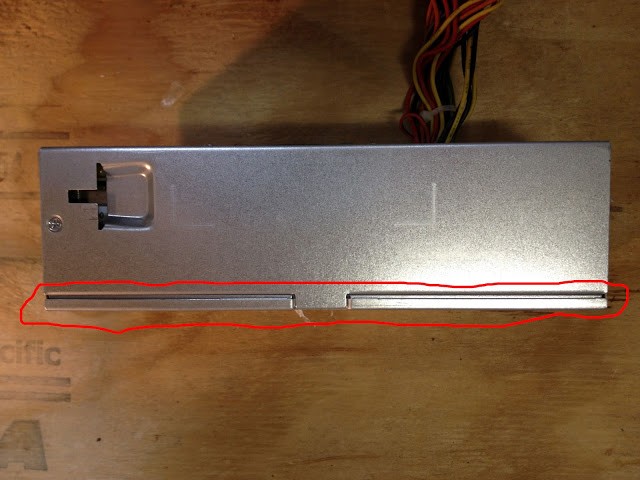
Make sure the wires leading to the new fan do not get in the way of the fan blades and make sure to tuck the one edge of the cover under the case as you reassemble it:
BTW: If you need the steps to reassemble the power supply into the CPU, you can read my tutorial here and follow the steps in reverse.
Updates:
5/31/12 Update: So far now I’ve had 4 power supply fans go bad. 3 of them I’ve simply replaced the fan. I just called Dell to see if by chance they had a recall on those power supplies but unfortunately, no luck.
8/20/12 Update: I had another one go bad today. I ordered 5 of these
replacement fans from amazon.com.
8/22/12 Update: I replaced the fan in another power supply but in this case the power supply was bad. It was making a high pitch sound and when I hooked up the new fan to it, it wouldn’t even spin up. Luckily I had an extra.
9/18/13 Update: We had another fan go out, bringing the total to 7 power supply failures, 6 of which were only the fan.
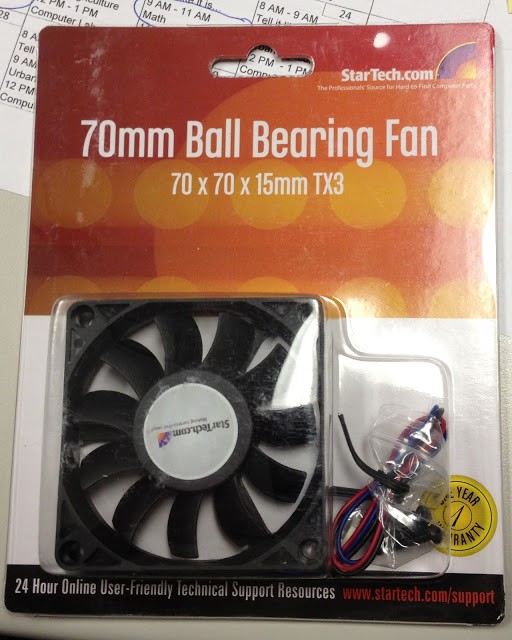 |
| Startech.com FAN7X15TX3 Cooling Fan |
Here are all my other Dell Computer Repair Postings:
- Computer Randomly Shuts Off Power Supply Issues on a Dell Optiplex GX520 (Small Form Factor)
- How to Replace the Power Supply Fan in a Dell Optiplex GX520 (this post)
- Dell Optiplex 320 Will Not Boot or Go to Bios
- How to Replace the Memory in a Dell Latitude D830
- Dell Optiplex GX520 Randomly Shuts Off
- How to Replace the Power Supply in a Dell Optiplex GX520
- How to Fix a Striped Display on a Dell Optiplex 320
- How to Troubleshoot Dell Optiplex GX520 Power Supply Issues
Amazon Associate Disclosure: As an Amazon Associate I earn from qualifying purchases. This means if you click on an affiliate link and purchase the item, I will receive an affiliate commission. The price of the item is the same whether it is an affiliate link or not. Regardless, I only recommend products or services I believe will add value to Share Your Repair readers. By using the affiliate links, you are helping support Share Your Repair, and I genuinely appreciate your support.

