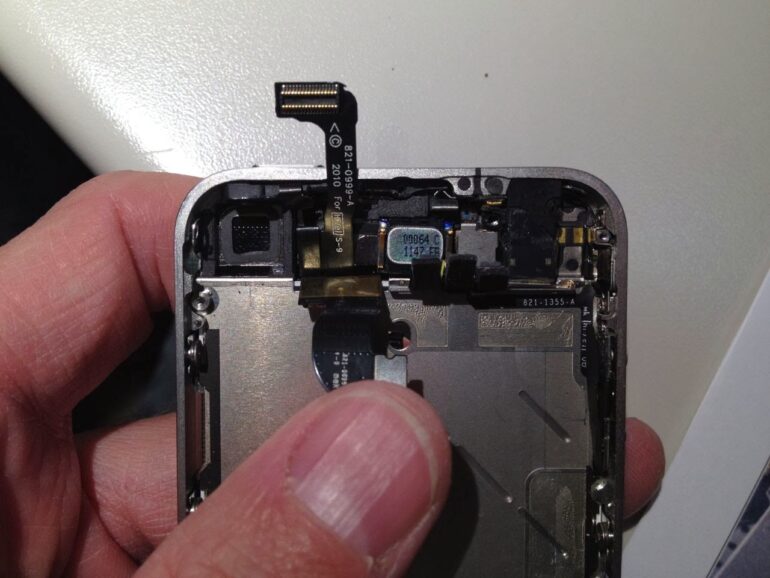
Did you know that you will need to remove 29 different screws to replace the screen on an iPhone 4S? How do you keep track of them all??? The screw lengths vary a ton but telling them apart would be torture and here are all the different sizes of screws in the iPhone 4S (only when repairing the screen): 1.2-mm, 1.3-mm, 1.5-mm, 1.7-mm, 2.4-mm, 2.5-mm, 2.6-mm, 2.7-mm, 3.6-mm, pentalobular, and 4.8-mm. Here’s some tips I’ve found that keep me from sweating (too much) when I tear apart an iPhone.
How to Repair Your iPhone and Keep Track of All the Screws
Tip 1: Print off the pdf tutorial for your repair on iFixit.com.
You cannot beat the details they give you on how to repair your iPhone so I won’t try to duplicate them. They are where I go to learn the steps of repairing iPhones and Apple computers.
Tip 2: As you disassemble your iPhone tape the screws to the pictures of the iFixit tutorial right where they go.
I tape all the parts, even the camera, battery, and small clips to the paper. Be careful because some parts have tape already on them (or a foam gasket like the camera) and it can pull off when you remove the tape–try to apply the tape to the metallic side of them. I use clear tape so I can easily see what’s under the tape.
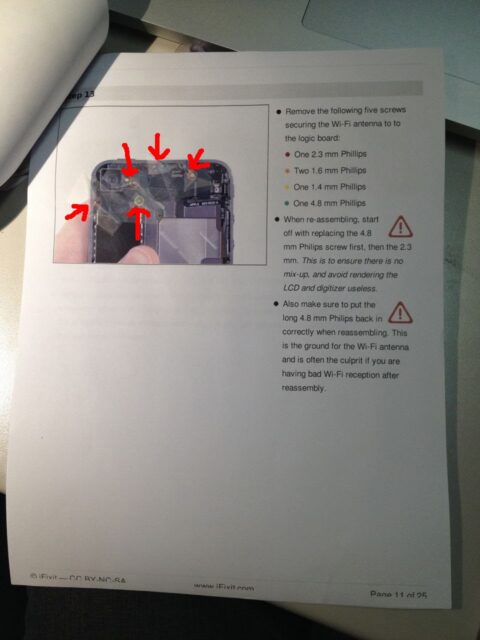 |
| Tape the Screws at the location they came from on the picture |
Tip 4: Use your screwdriver to break the screws out of the tape, one by one, as you reassemble.
Be careful because they can go flying if you don’t watch it. The screws remaining on the paper mark your spot so you can take a break and not sweat about remembering where you left off.
Tip 5: Refer back to the iFixit website version of the tutorial.
Sometimes the printout is not clear so I go back to the iFixit tutorial to see the close-up pictures if you can’t see the details clear enough from the printouts.
Tip 6: Magnetize your screwdriver tip when re-assembling so the screws stay put.
I use an old hard drive magnet. I wrote a tutorial on how to get them out here: How To Remove The Magnets From a Hard Drive. You can magnetize a screwdriver tip by simply holding the tip to a powerful magnet for a few seconds:
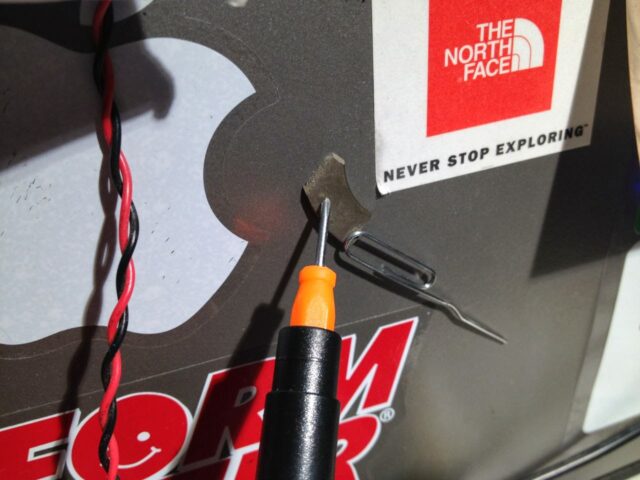 |
| Magnetizing my screw driver tip |
And now you’re less likely of losing that screw:
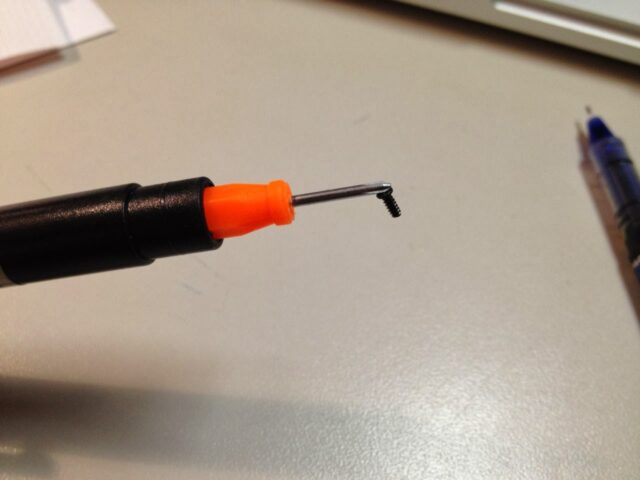 |
| A magnetized screwdriver tip |
Hold…
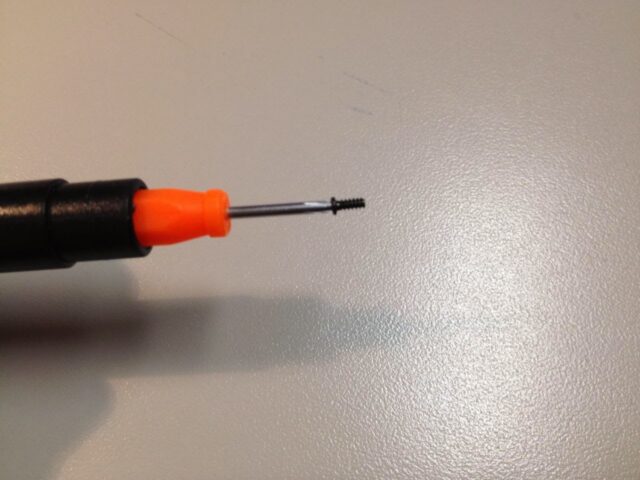 |
| A screw being magnetically held to my screwdriver |
These tips should help you be more successful in that DIY iPhone repair. I do the very same thing when I’m working on my Mac.
Amazon Associate Disclosure: As an Amazon Associate I earn from qualifying purchases. This means if you click on an affiliate link and purchase the item, I will receive an affiliate commission. The price of the item is the same whether it is an affiliate link or not. Regardless, I only recommend products or services I believe will add value to Share Your Repair readers. By using the affiliate links, you are helping support Share Your Repair, and I genuinely appreciate your support.

