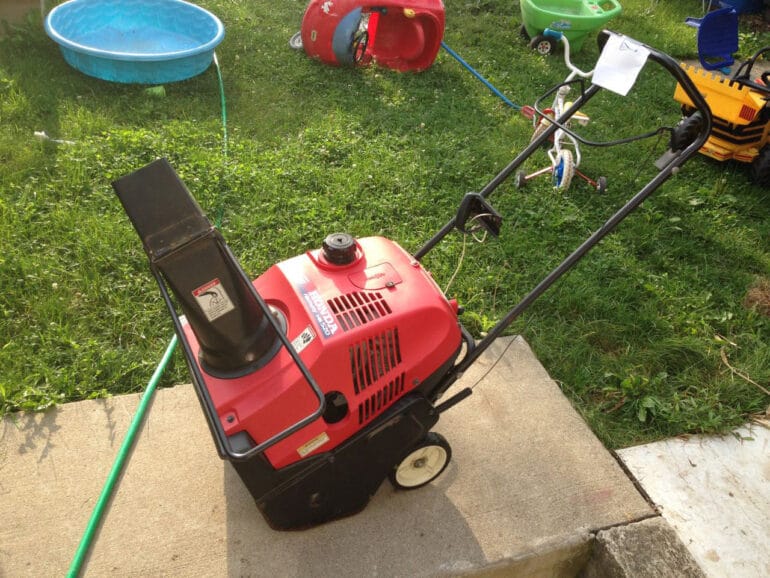
Honda Harmony HS 520 Won’t Blow Snow-How to Replace the Paddles and Scraper Bar
- Honda Harmony HS 520 Snow Blower
Parts Needed:
- Genuine Honda HS520 Snow thrower paddle, scraper bar and belt set/kit, 06720-v10-030, 76322-v10-020
(note: I DO NOT recommend buying the aftermarket replacements–I purchased them and they are over 20% thinner than the OEM paddles)
Tools Needed:
- 10mm and 12 mm Sockets and Ratchet (If you don’t have one, get a good socket set here
)
- 10mm open-ended wrench (for the nuts that you can’t get a socket on) One of these wrenches will be included with the socket set
in the item above if you need to purchase one
- Large flat-head screw driver
- Pliers
(to hold the carriage bolts in place or if you need to bend any sheet metal like I needed to)
Step 1: Replace the middle paddles.
There are two of them. They have 10mm locking nuts on them and have a flat-head screw driver slot on the back side so you can hold the bolt still. Hold the bolt still with a large flat-head screw driver and take the nut off both bolts:
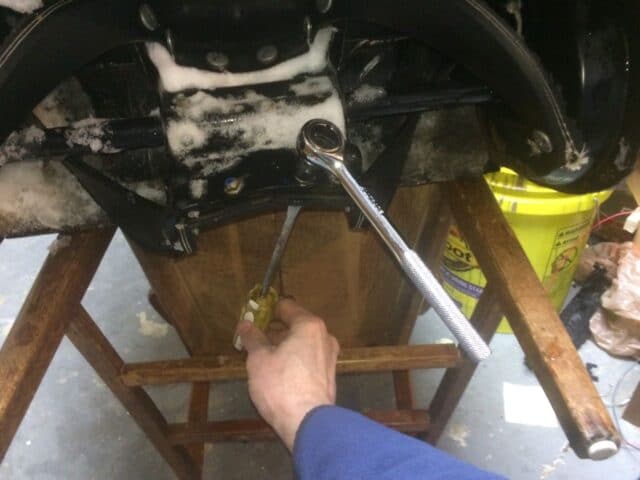 |
| Loosening the bolts on one of the middle paddles |
The bolts with shoulders:
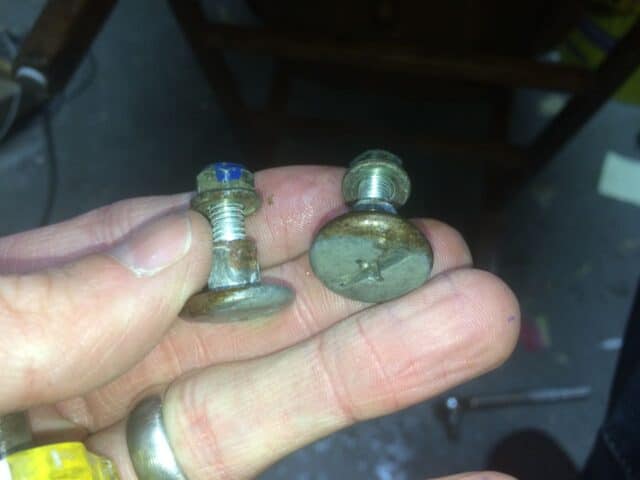 |
| Paddle bolts and nuts |
When I got off my first middle paddle it had small washers on one side:
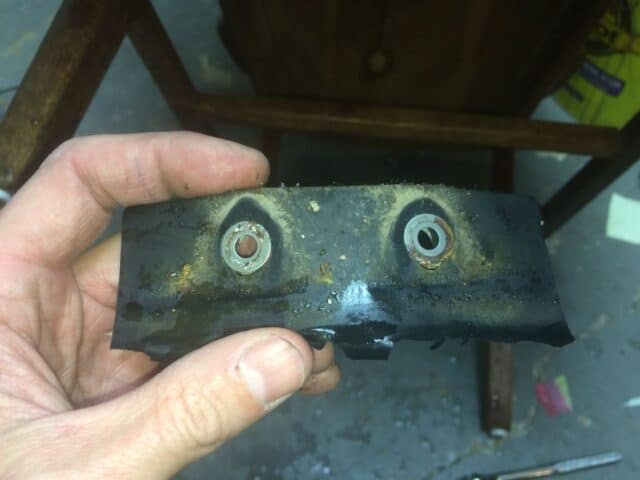 |
| Small washers on one side |
and larger washers on the other:
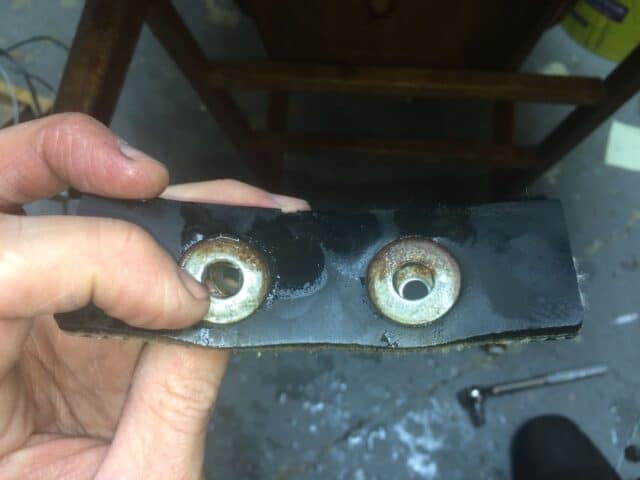 |
| Large washers on the other side |
Once I got the old paddles off I wanted to compare them to the new ones to see how much wear had taken place, quite a bit:
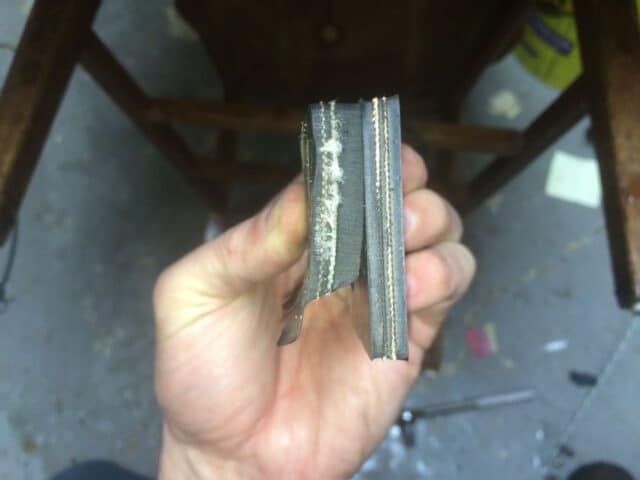 |
| Paddle wear comparison (you can also see how much thinner these after-market paddles are) |
Like I mentioned in the parts list, I do not recommend the aftermarket paddles. They are not worth the minimal savings because they are over 20% thinner. I must say that they were the same shape and they will blow snow, they’re just going to wear our faster:
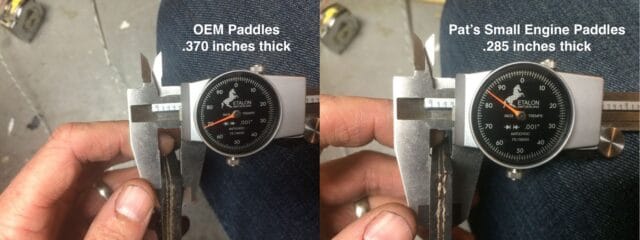 |
| Comparison of OEM paddle thickness to the aftermarket replacement ones I bought |
I transferred those washers over to my new paddle and reinstalled it the same way. I’m not positive that you will have these same washers on your OEM snow blower, the small washers seemed to be too small to actually do much but I went ahead and transferred them to the new ones anyway:
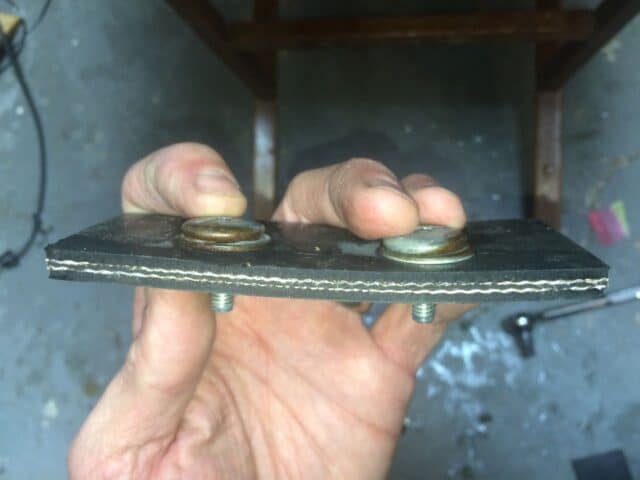 |
| Here you can see the large washers on the bolt head side |
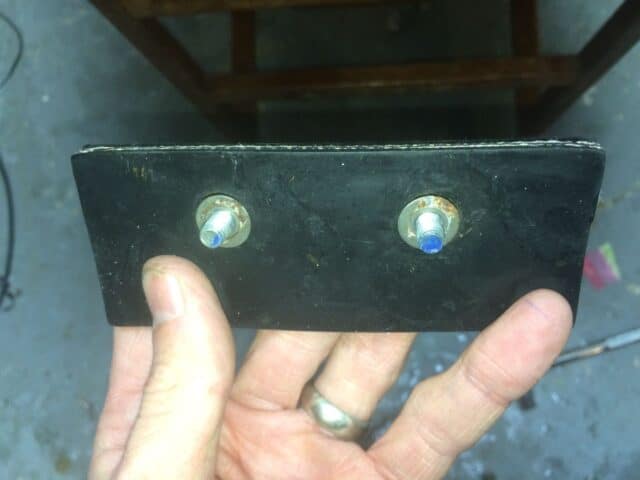 |
| Here the smaller washers are on the other side |
Put them in place as seen below and bolt down tight:
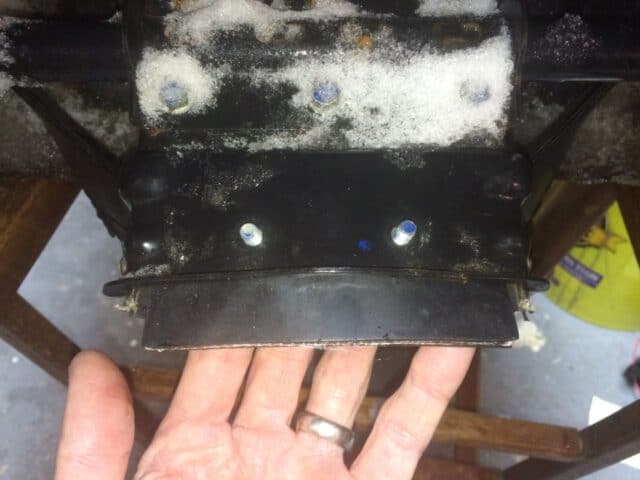 |
| Ready to be bolted down |
Step 2: Replace the four curved paddles.
I’d do one at a time to make it easier to keep track of what goes where. There are two bolts on one end and one on the other (which makes it easier) and they are all held in place with 10mm hex head locking bolts.
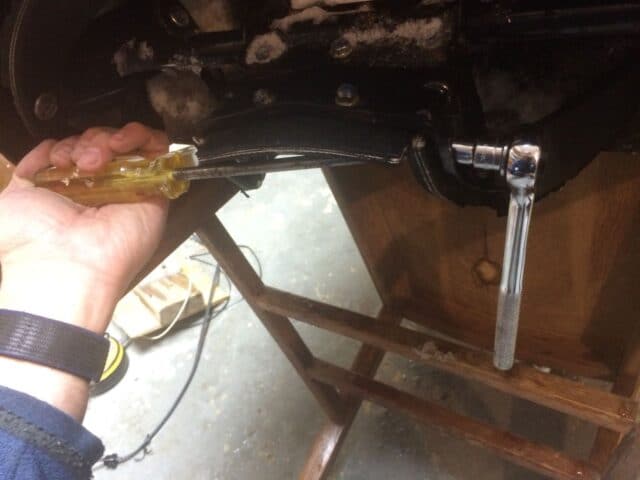 |
| Unbolting the curved auger paddle |
Some of the outside ones are so close to the outside that you can’t get your socket on them so you’ll need to use an open-ended wrench:
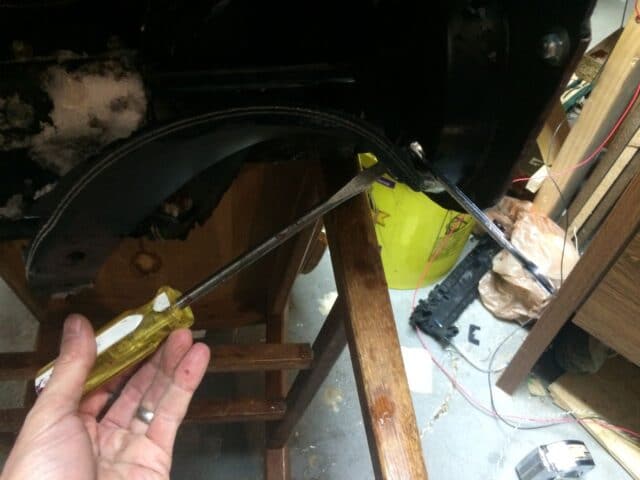 |
| Using an open ended wrench to remove the outside bolts |
Reinstalling the 1-bolt end of the new curved paddle:
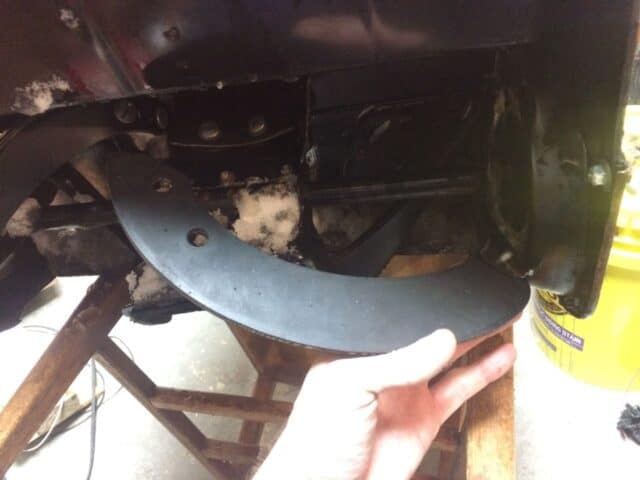 |
| Reinstalling the one-bolt end of the first curved paddle |
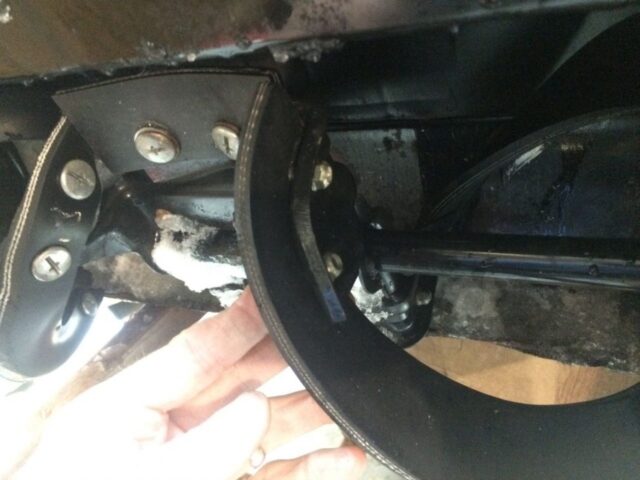 |
| The first curved paddle has been installed (note it matches up with the center one) |
Repeat for all four curved paddles. Here’s the old worn-out paddles I took off mine:
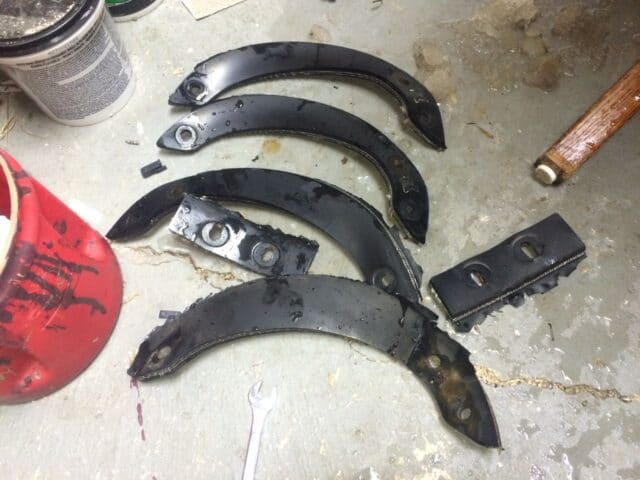 |
| The old worn out paddles |
Step 3: Fix anything else you notice on your snow blower while you are down there and looking at everything.
I noticed that there was a piece of rope wrapped around one end of the shaft:
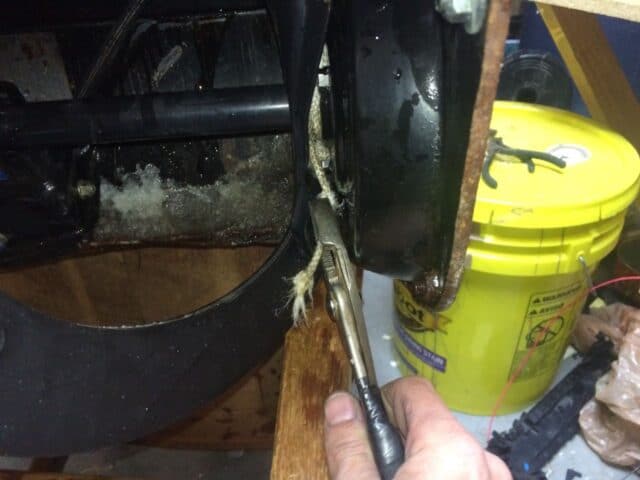 |
| Pulling rope off the shaft |
And the metal frame of the auger was going to hit one of the bolts that stuck out because the auger was bent:
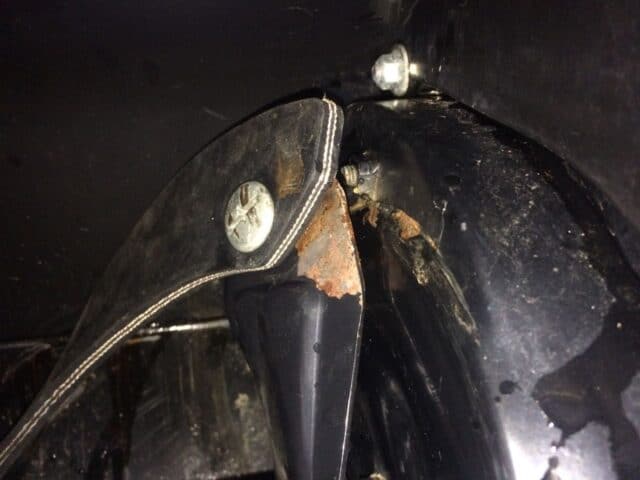 |
| My auger was hitting a bolt |
I bent the auger back with a large pliers. The outside frame of the snow blower was bent in as well and I bent that back out:
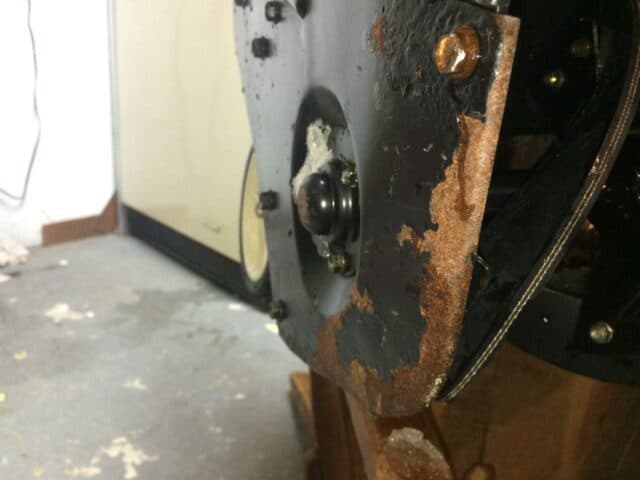 |
| I bent the metal frame corner back out so it wouldn’t hit the auger |
I noticed the screen circled below had the “hook” on one end broken off. I tied some wire to the bottom of the screen and re-attached it to the hole in the frame:
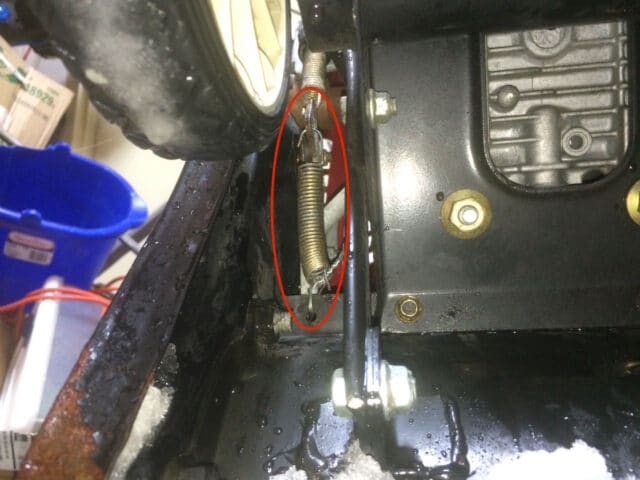 |
| The spring I repaired |
Step 4: Replace the scraper bar.
This is a plastic piece that runs along the bottom back edge of the snow blower housing. Mine was totally obliterated and it was beginning to wear into the metal housing of the snow blower. There are 3 carriage bolts on this bar and it has self locking 12mm bolts on the back side:
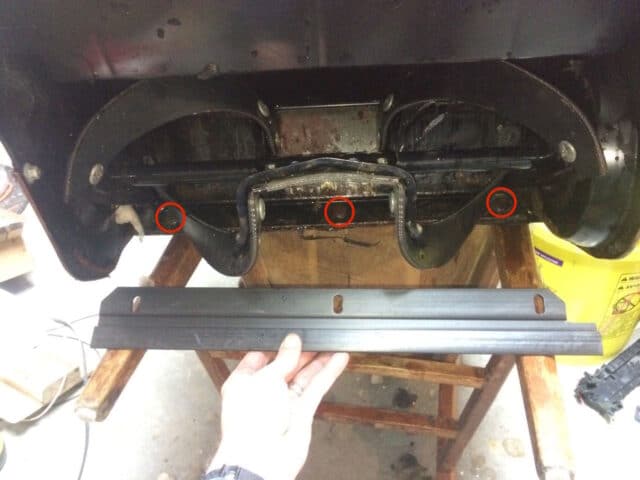 |
| Scraper Bar and bolt locations |
You can tell the way the scraper bar should be oriented because it has an extra notch on the right side to make room for where the belt runs to the pulley inside the housing.
FYI: A carriage bolt has a square insert under the head that is supposed to fit down into a square hole to keep the bolt from turning when you tighten the nut. In this picture you can see the square part on the bolt and the square hole:
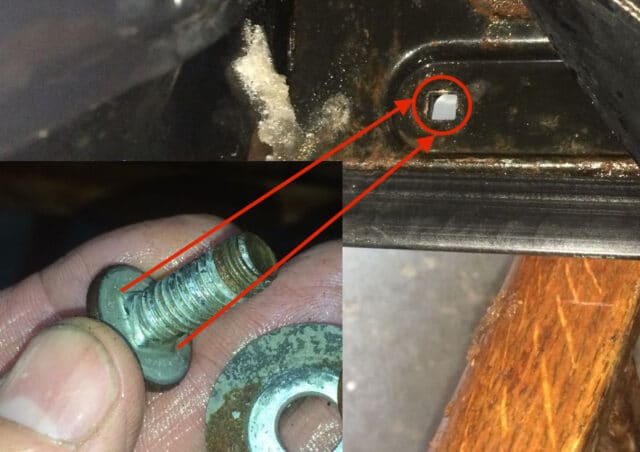 |
| Carriage Bolt illustration |
The problem in this application is that water and salt are popular items inside this metal snow blower housing and that goes to town on the steel. I had a hard time holding the holt still while I was loosening the nut. I took a pliers and squeezed the head of the nut to the frame to keep it still:
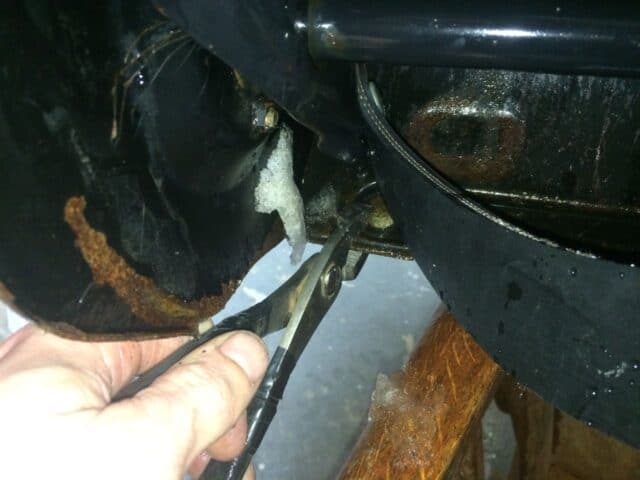 |
| Using a pliers to hold the carriage bolt in place while loosening the nut |
Each carriage bolt should have a washer on the back side:
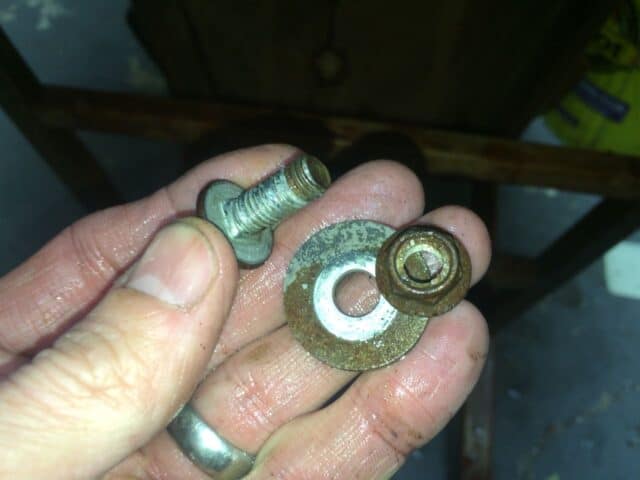 |
| Scraper bar carriage bolt, nut, and washer |
This is a comparison of the old scraper bar and the new one:
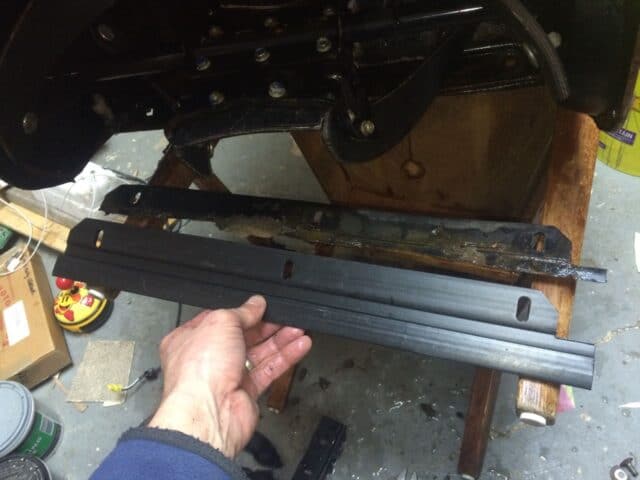 |
| Old worn out scraper bar versus the new one |
The tab of the scraper bar that you bolt down should go on the underneath side of the housing and the lip should “wrap” around the metal edge of the housing:
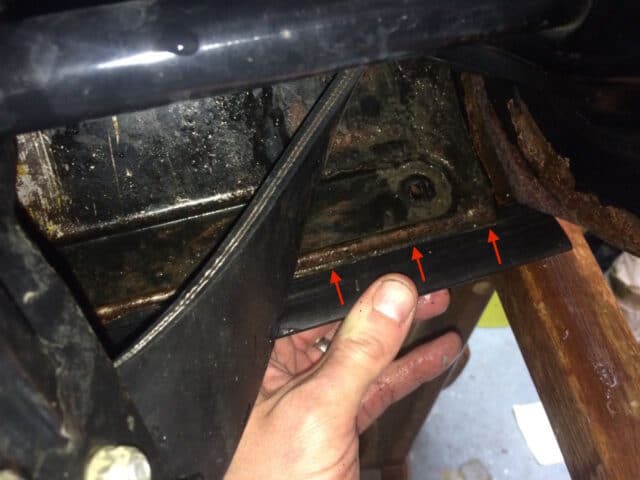 |
| Slip the scraper bar over the edge of the metal housing (that way you wear the scraper bar out not the housing) |
Replace the three carriage bolts, making sure the washers go on the nut (back) side:
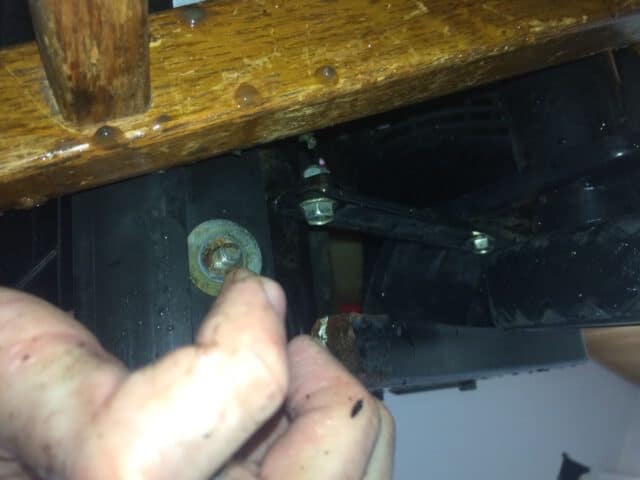 |
| The washer on the bottom side (from underneath) |
You may need to press down on the carriage bolt head with a pliers to get it to stay still while tightening the nuts:
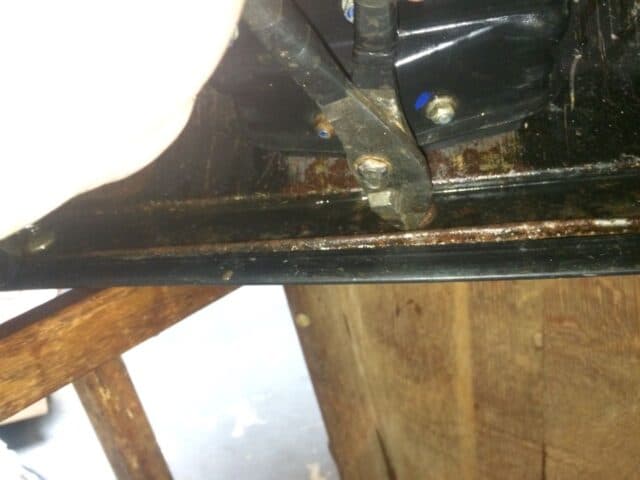 |
| Using a pliers to hold down the carriage bolt |
Now you are done and ready to blow snow (almost) like new again:
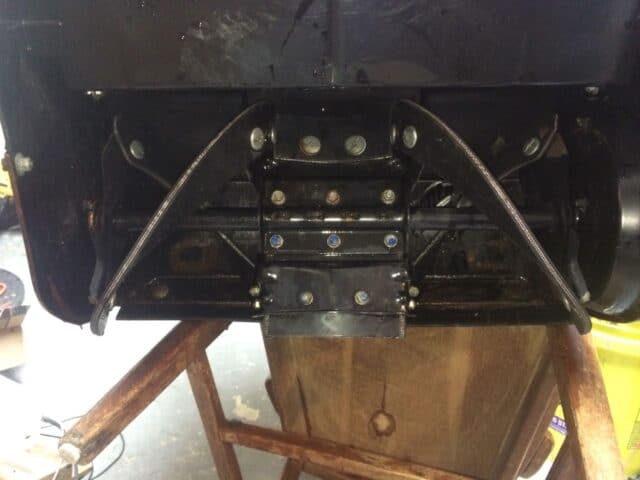 |
| Honda Harmony HS520 with new paddles and scraper bar |
Other Useful Links
Amazon Associate Disclosure: As an Amazon Associate I earn from qualifying purchases. This means if you click on an affiliate link and purchase the item, I will receive an affiliate commission. The price of the item is the same whether it is an affiliate link or not. Regardless, I only recommend products or services I believe will add value to Share Your Repair readers. By using the affiliate links, you are helping support Share Your Repair, and I genuinely appreciate your support.

Thanks for a well written article. I have a Honda 520 that is good at throwing deep snow but no so much for snow under 4 inches. Prior to this winter it worked great. Especially poor at throwing snow left or right where-as straight ahead works good. In looking at my machine I noticed I am missing a middle rubber blower paddle and the other appears to have been put on backwards. Based on your article I will order replacements parts and see if performance improves. The outer auger paddles look good.
Thanks for the feedback Gus. Check back in once you’ve done your repair and let us all know whether it fixed your problem.
Great job, I had hard time with scrapper bar nut/bolt removal. I was about to grind them off as they kept on spinning after loosening a bit. I am glad, I looked at your article.
Great to hear–yes, those are carriage bolts that must be held in place in order for them not to turn. But don’t use your bare finger if you are using an air or electric wrench as you can really tear up your thumb! I’m glad you were able to get the help you need to fix your snow blower.